 Key Concepts: As part of the forest ecosystem, trees have various roles. These roles include supplying oxygen, producing food, providing habitat for many species of wildlife, stabilizing soil, moderating temperature, capturing and storing carbon, and cycling water and nutrients. [PLT’s Forest Literacy Framework, Concept 1.B.6]
Objectives: Provide an opportunity for learners to:
- Identify benefits we receive from trees.
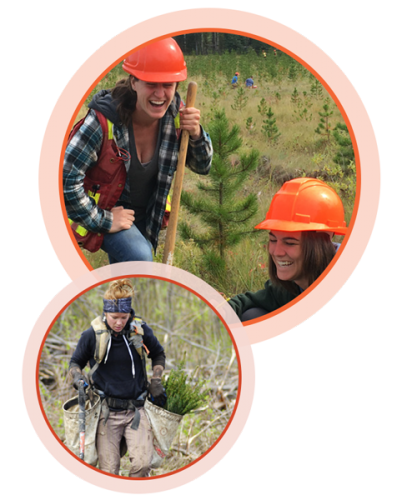
- Participate in a tree-planting event.
- Learn how to care for trees.
Session Time: 50 minutes for tree planting (see Prepare for more information)
Setting: Outdoors
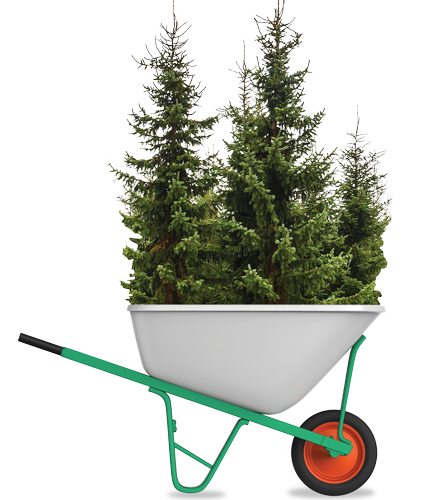
 Trees are invaluable assets. They
- Store carbon, helping to reduce atmospheric carbon dioxide and fight climate change
- Hold soil with roots, preventing erosion
- Provide homes and food for birds and other animals
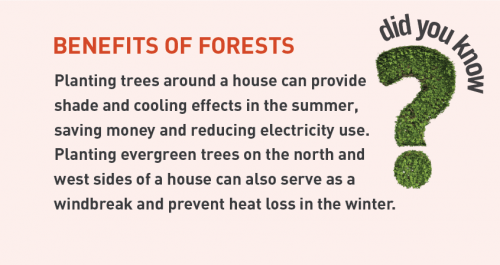
- Serve as a windbreak, keeping buildings warmer
- Provide shade, keeping buildings cooler
- Provide beauty and enjoyment and improve our overall health
- Provide a forest product such as firewood, boards, mulch or others.
Research shows that tree plantings are also beneficial for neighborhoods and schools as they help develop a sense of inner pride and encourage positive behavior.
Planting a tree is a long-term investment that requires careful planning. To ensure a long life, a suitable planting location and tree species must be selected, and the tree must be cared for during and for several years after planting. With a healthy start and proper ongoing care, a tree may live decades or even hundreds of years.
Materials:
Native sapling or seedling, shovel, mulch, watering hose or watering can, recycled paper, yarn or string, pens.
Get Ready:
We suggest that this experience be planned in collaboration with the group’s teacher or youth group leader, perhaps around Earth Day or other event. You may want to plan two sessions with the group: one for planning the site and tree species, and one for the tree planting.
In advance of the tree planting, you or the teacher should engage learners in identifying a location that will allow plenty of room for the tree’s roots to grow and is well away from buildings and power lines. Before digging, call 811 or go to your state’s 811 website to request that any underground utilities be marked so you can avoid them.
The learners should also help to research and select a tree suitable for your local climate and the chosen location for suggestions. See PLT’s Family Activity “What Tree Should I Plant?” for more information.
Introduce
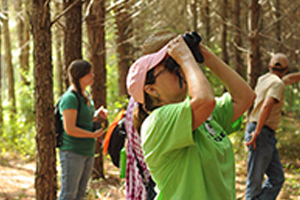
Lead a discussion about trees, asking students questions such as: What do you like about trees? How do trees help us? What is your favorite tree? How can we help the world by planting trees?
Experience
-
- Involve learners in planting a tree. As they help you prepare the site for planting, keep the tree cool and shaded. Try not to handle the exposed roots during planting, and keep them moist.
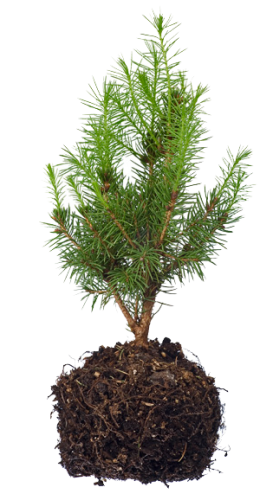
- If you’re planting a sapling (1–4 inches in diameter), invite learners to:
-
- Dig a hole twice as wide and as deep as the root ball. (You may want to show them a bowl to give them a sense of what the hole should look like: wider on top and not too deep.)
- Build a mound of soil and place the sapling on top of the mound so that it is 2 inches (5 cm) above the hole’s bottom.
- If the roots are wrapped, remove the burlap and loosen them somewhat.
- Fill the hole with soil, tamping it down with your foot and wetting it with water.
- Soak the soil around the tree with water to encourage deep rooting.
-
- If you’re planting a seedling (less than 1 inch in diameter), invite learners to:
-
- Dig a hole a little deeper than the roots are long.
- Fill the hole around the seedling with dirt.
- Gently pull the trunk of the seedling up slightly to straighten the roots. Tamp the soil firmly, but not too tightly, or the roots won’t be able to collect appropriate amounts of water and nutrients.
- Soak the soil around the tree with water to encourage deep rooting.
 Connect
Lead a discussion about what the tree will need to grow healthy and strong. Point out that a tree is most vulnerable during the first years of its life, and during this time it requires particular care. Challenge learners to develop a plan for caring for the tree, including:
-
-
- Watering as appropriate for the tree type.
- Adding a 3- to 4-inch (8 to 10 cm) layer of mulch around the base of the tree to keep the soil moist (mulch should not touch trunk).
- Protecting it from pests and animals (maybe putting a mesh tree guard around it to keep animals from chewing the bark).
Invite learners to write a wish for the tree on pieces of recycled paper that they tie to the tree or bury in the soil.
TAKE ACTION!
After a tree is planted, the most important aspect of care is to ensure it receives plenty of water. Challenge students to design a catchment or irrigation system to ensure that a tree receives the water it needs.
 Trees provide a host of benefits—from oxygen to shade to wildlife habitat. Learners help select and plant a tree for the future. In this activity, learners identify benefits we receive from trees and participate in a tree-planting event. Review or download the activity below.