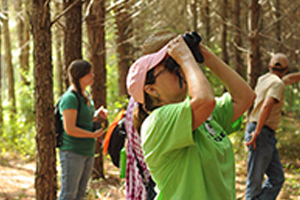
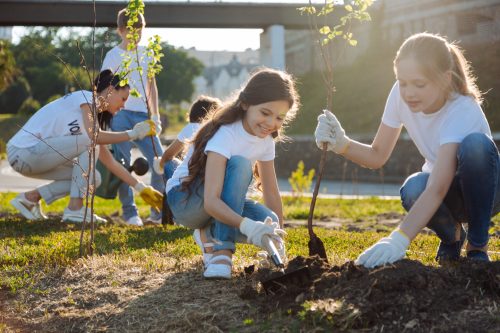
Are you thinking about involving your students in planting a tree to celebrate Earth Day or Arbor Day? There is much to know before planting a tree than one might think. Factors to consider include the suitability of the site, tree species, how to prepare the ground and properly plant the tree, and of course, future maintenance and care.
Use these STEM (science, technology, engineering, and math) lessons with your students to help them learn how to plant the right tree in the right place. The following enrichments accompany Activity 31, Plant a Tree found in Project Learning Tree’s PreK-8 Environmental Education Activity Guide. Be sure to check out the full lesson!
Essential Question: How will you know you are properly planting the right tree in the correct place?
Task:
- Evaluate various tree species that possess desirable characteristics and will grow under the conditions of your planting site.
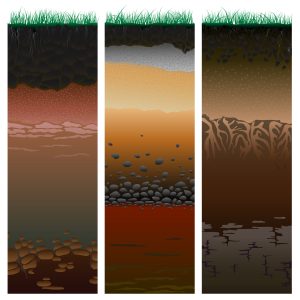
- Evaluate the planting site to confirm that it provides appropriate space, sunlight, and soil drainage to maximize tree growth.
NGSS Connections:
- MS-LS1-5. From Molecules to Organisms: Structures and Processes – Construct a scientific explanation based on evidence for how environmental and genetic factors influence the growth of organisms.
- MS-LS2-5. Ecosystems: Interactions, Energy, and Dynamics – Evaluate competing design solutions for maintaining biodiversity and ecosystem services.
- MS-ETS1-4. Engineering Design – Develop a model to generate data for iterative testing and modification of a proposed object, tool, or process such that an optimal design can be achieved.
STEM Strategies
Science
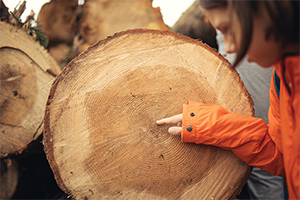
Trees grow in many habitats. Some trees, like the flowering dogwood, thrive in the shade of larger trees. Others, such as the loblolly pine, prefer to grow in full sunlight. Other trees might prefer to grow in moist bottomlands (river birch), while other species prefer upland locations that are much drier (white oak). To ensure you are planting the right tree in the right place, you must begin by knowing what environmental conditions are best for the species of tree you wish to plant. This type of tree knowledge is known as silvics.
Before selecting a tree (or trees) to plant, it is important to consider the reason why you wish to plant it (or them). The purpose of planting a tree may be to provide additional shade, produce fall foliage or spring flowers, offer more privacy, reduce surrounding noise, celebrate a special event, or something else. Dr. Ed Gilman, a professor at the University of Florida is considered an expert in the field of tree biology. He has produced a list of questions that will help match the appropriate trees to the planting site.
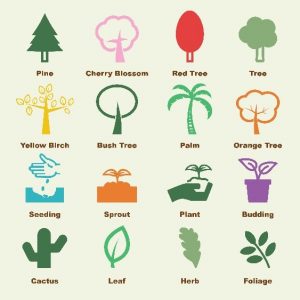
After identifying your outcomes, begin to brainstorm a list of possible trees to plant. Your list may include conifers (fir, spruce, pine, etc.) or hardwoods (oak, beech, maple, etc.). Use these two agriculture handbooks from the USDA forest service to learn more about the silvics of the trees on your list to confirm their suitability for your planting site. Remember to select native trees whenever possible. If you need help identifying native trees to your areas, reference a trusted resources, such as these tree fact sheets from the University of Florida.
Technology
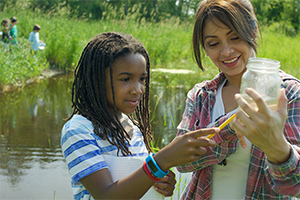
Trees planted in the correct location will thrive, providing individuals and communities with many benefits. Some of these benefits are not readily visible, such as air quality improvement or noise reduction. Trees play an important role in purifying the air we breathe. They remove tons of carbon dioxide (CO2), a greenhouse gas, from our atmosphere. Trees take in CO2 from the atmosphere during photosynthesis, and release CO2 during respiration. While photosynthesis and respiration are natural processes that we cannot see, they can be measured and represented using data points. If available, use a CO2 gas sensor to measure the amount of carbon dioxide produced or consumed during respiration and photosynthesis.
You can use the i-Tree Design, an online tool developed by the USDA Forest Service and other partners, in conjunction with PLT’s Teaching with i-Tree activities, to calculate the dollar value and ecosystem services of the tree (or trees) planted.
Engineering
After a tree is planted, the most important aspect of care is to ensure it receives plenty of water. Design a catchment system to ensure your tree receives the water it needs. Alternatively, if a nearby water source is available, design a suitable irrigation system.
Math
One step in planting a tree involves digging the hole! But how big should it be to make sure your tree thrives? Is the planting site on a slope or is the soil poorly drained? To determine the size and configuration of the hole that is best for your tree, review and select one of the first five options for trees from this Planting Details listing, made available by the University of Florida.
Determine the size of your planting hole by following these steps:
- To determine the depth, measure the distance between the top-most root and the bottom of the root ball. Do not plant the tree deeper than the length of the root ball. The top of the root ball should be flush with the finished grade around the tree. Follow this diagram for proper planting procedures.
- To determine the width of the hole, you must measure the diameter of the root ball. It is recommended that the planting hole be at least 1.5x but no larger than 3x the diameter of the root ball. If the soil at the planting site is hard and rocky, it is best to dig the planting hole as wide as possible.
- To determine the volume of soil to be removed, assume the shape of the planting hole is a cylinder. To determine the volume of a cylinder, you must know the height (i.e. the depth of the hole) and the radius (i.e. ½ the total width of the planting hole). The formula to determine the volume of a cylinder is: V = (r)2 (h)
Where, = 3.1415, r = radius (1/2 total width), and h = height (depth of hole)
Keep all measurements in inches and then convert to cubic feet.
Example: Total planting hole width is 24 inches and depth is 14 inches. The volume, in cubic inches is:
V = (12)2 (14)
V = 3.1415 x (144 x 14)
V = 6,333 cubic inches (in3)
This may seem like a lot of soil, but when converted to cubic feet it is less than you think. To complete the conversion, divide the total cubic volume (in inches) by 1,728 (number of cubic inches in 1 cubic foot). The example volume (6,333 in3) divided by 1,728 in3/ft3 is equal to 3.66 cubic feet (ft3).
Additional Resources
Don’t have PLT’s PreK-8 Environmental Education Activity Guide?
- Purchase a print guide or e-book, available from PLT.org, Amazon and other places where books are sold.
- Get it through your PLT State Coordinator along with hands-on professional development, alignments to state standards and other state-specific supporting resources.
Don’t consider yourself a formal teacher?
- Check out PLT’s Nature Activities for Families. We have 40+ nature activities for families that can be easily used by parents, grandparents, youth group leaders, nature centers, and other nonformal programs.